Ask any ex-pat living in Syria (or Lebanon, Jordan, etc.) what they would miss the most about the Middle East and the answer will always be “the food.” We would gladly leave behind the dusty weather or the irreliable electricity, and though we may love our friends, it is the food and the culture around Middle Eastern food which will put that far-away dreamy look in our eyes.
Ah, the food, we reminisce, but which foods? Immediately, the list-making begins: wonderfully smooth hummus, green lemony taboule, the freshest pita breads, salty cheeses, maqloubeh, and of course, the baklava. The baklava that we will cart boxes of back to our homes and the zaatar spices and rose jam we tuck into our suitcases. And just when we think we are all packed and ready to go, a friend will come by with a box of beautifully arranged dates, which we will cram into the last remaining centimeter of our carry-on, lest we starve on the long plane ride home.
“What I’ll miss most is the stuff I just can’t get back home, like that greasy bowl of foul,” said my Brooklyn-born friend Alex, whose small frame belies a legendary appetite. Alex can regularly be found eating foul, a simple stew of brown fava beans drowned in oil and lemon juice, in the little eateries in Saahat Bab Touma. These are the kind of places with only three items on their menus, all variations on stewed beans. I like the Damascene specialty of beans in hummus sauce- hummus has been thinned and warmed to make a sauce for the foul beans, topped with a showering of the reddest tomatoes, to be scooped up with pita bread, with pickles and hot glasses of tea on the side.
It occurs to me that what we will miss is not just the food, but the culture of food. In a place where so much of the society revolves around cooking and eating, the food serves as our cultural anchor. It’s going to the market and bargaining for vegetables, it’s eating everything in season, tucking into the little hummus shop for a quick lunch or sitting for hours over tea.
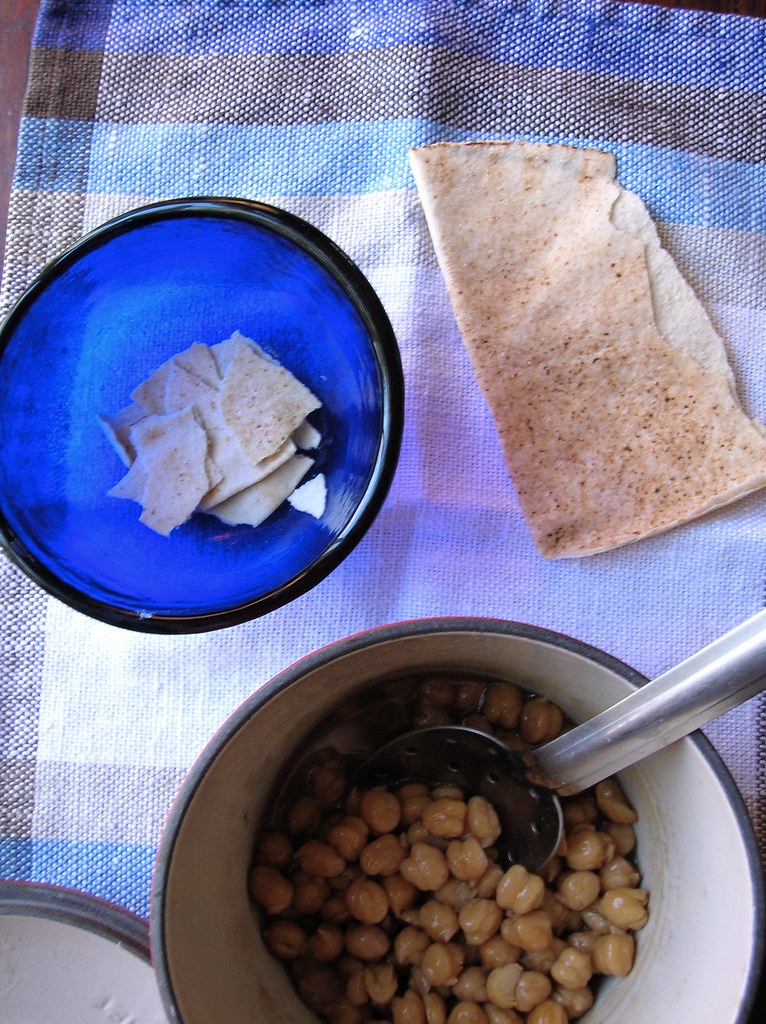
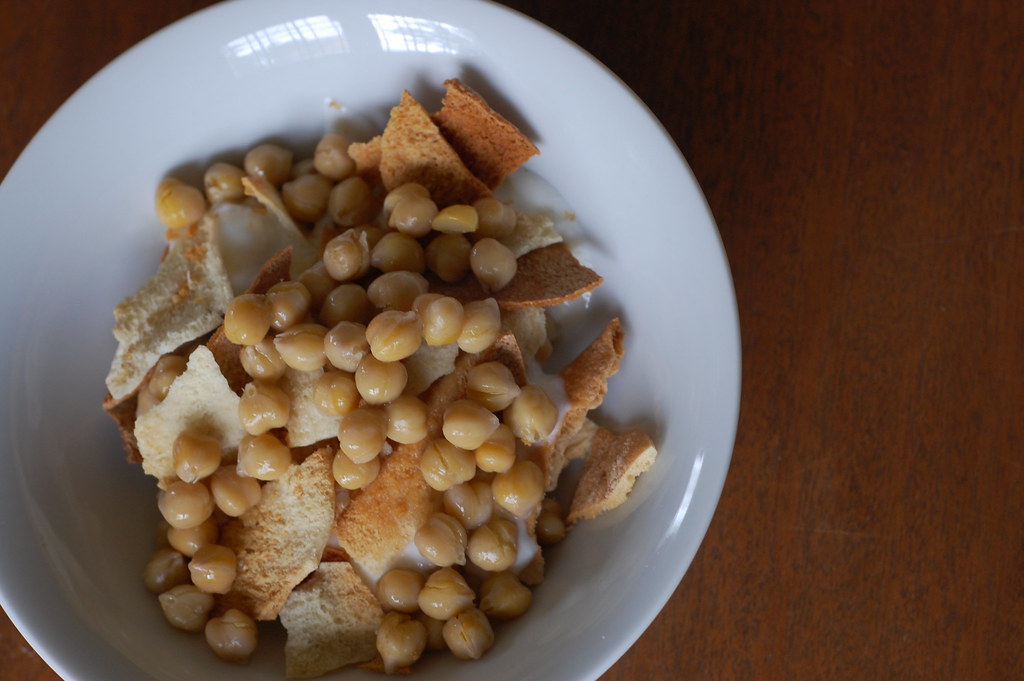
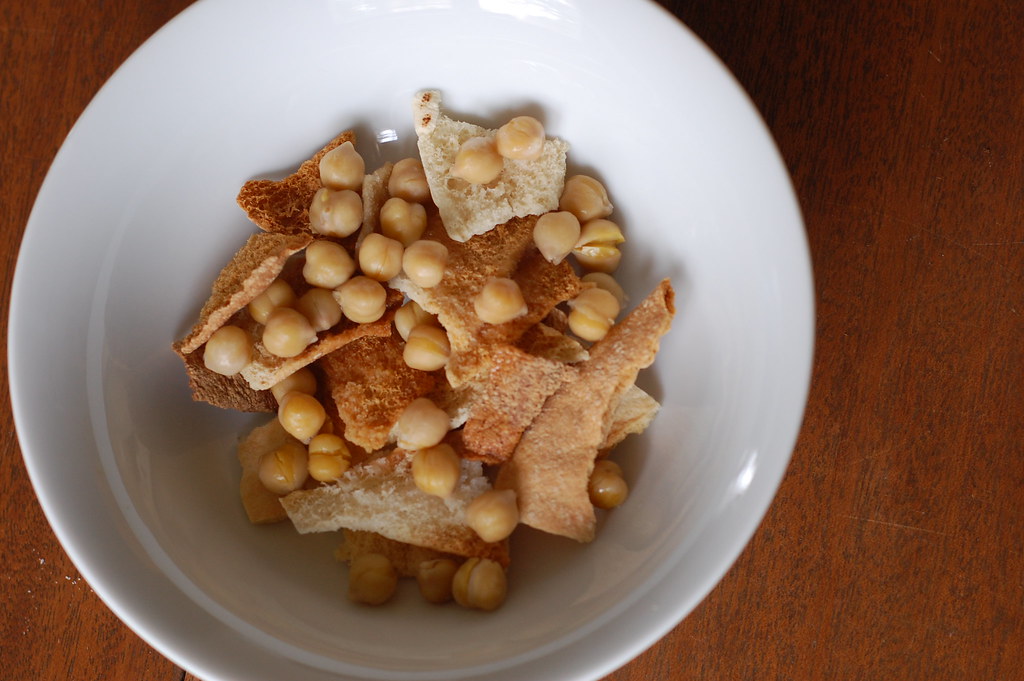
This is probably why I don’t make Middle Eastern food very often at home. Somehow, the same recipes, when prepared in a tiny New York apartment, just aren’t the same as the huge platters of beautifully arranged dishes, the hundreds of appetizers, the groups of friends. What I miss most is fetteh, a dish in which toasted pita bread and chickpeas are layered in a dish with a warm yogurt sauce to make a soft, thick stew. Served at breakfast or lunch, it is the ultimate comfort food and probably one of my all time favorite dishes. But what I really miss are the big glass bowls fetteh is served in, and Mahmoud standing over our office stove teaching me to make fetteh for the first time, and scooping it up with spoons with a group of good friends, the call to prayer and honking horns in the background. Sometimes I make it home for myself, but it won’t taste the same until I’m in the Middle East again.
There are as many versions of fetteh as there are cooks in the Middle East. Sometimes it's served in a wide flat tray, other times in deep glass bowls; some people fry the pita chips while others toast them; some add chicken, lamb, eggplant, and even rice. The simplest version, given below, always involves bread, yogurt, and chickpeas. Next time I'll give my recipe for one of my favorite versions of fetteh, and talk about the history of the dish, so stay tuned.
Fetteh (Chickpea, Yogurt, and Bread Casserole)
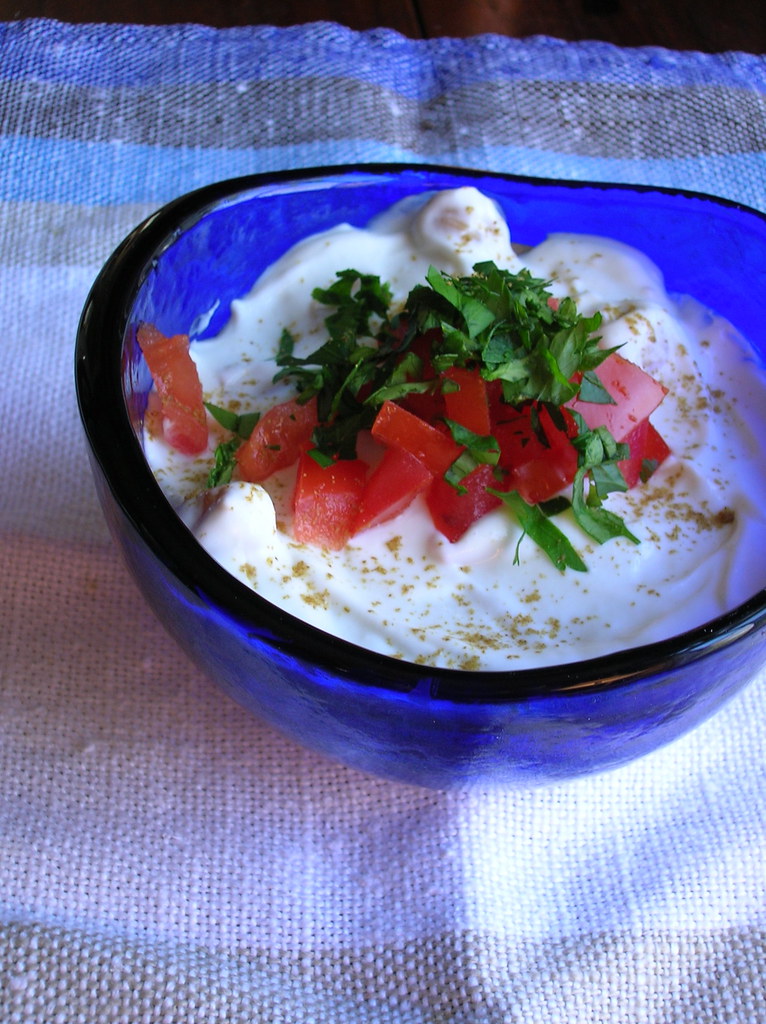
Fetteh is traditionally topped with a big slick of pine nuts sauteed in clarified butter, or with a douse of olive oil. However, the person who taught me to make fetteh often topped it with a huge showering of chopped tomatoes and parsley, and I prefer this slightly healthier version. Of course, if you cook the chickpeas from scratch all the better. Makes two-individual size bowls.
1 large thin pita bread
1 clove garlic
a squeeze of fresh lemon juice
12 ounces plain good quality plain yogurt, full fat or 2%, not fat free, at room temperature
1 can chickpeas
pinch of cumin
chopped tomatoes and parsley, for serving
1. Preheat oven to 450 F. Seperate the pita bread in half and toast in the oven until golden brown and toasted, but not burned. Set aside until cool enough to handle, then break into bite-size pieces.
2. Meanwhile, empty chickpeas into a saucepan with their liquid and bring to a simmer. Cook chickpeas until completely tender- most canned chickpeas are too firm and I find they take about 15-20 minutes of simmering before they are tender enough to smush easily between your fingers.
3. Place yogurt in a bowl. Crush garlic in a mortar and pestle or press garlic through a garlic press. Add the garlic to the yogurt along with a pinch of salt and a squeeze of lemon juice. Stir to combine. If your yogurt is on the thick side, add a touch of water to make your yogurt pourable consistency.
4. Divide half the crumbled pita between two individual-size bowls. Spoon half the chickpeas over the pita pieces, allowing a little of the warm chickpea liquid to soak the bread pieces. Pour half the yogurt mixture over the bread and chickpeas, sprinkle with a pinch of cumin. Repeat the layering in the bowls: bread, chickpeas, yogurt, pinch of cumin. Top with chopped tomatoes and parsley (or sauteed pine nuts, if you prefer). Serve immediately.
30 June 2008
26 June 2008
Just Cake
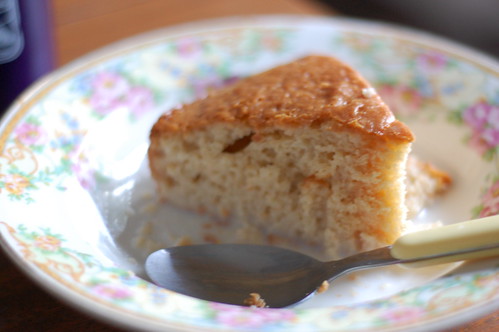
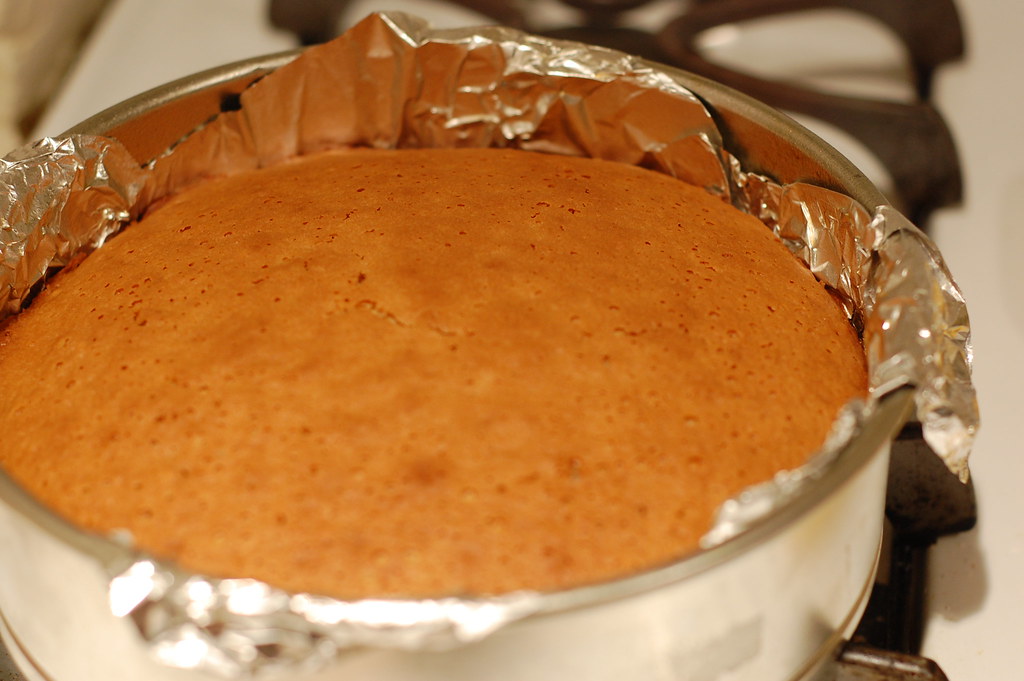
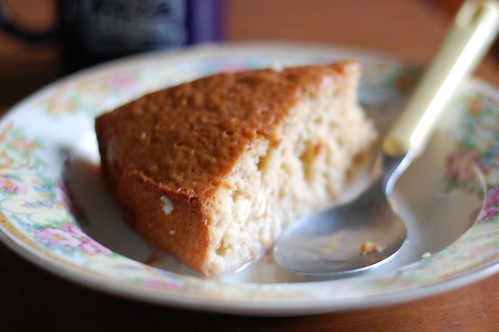
When it comes to desserts at home, what I really like are simple things, like a slice of good plain cake. No frostings or fillings or glazes, no fussing. Something with a firm but soft crumb and maybe a bit of a crackly top; a cake you can cut a hunky wedge of, with maybe a sluuuump of ice cream over top.
I like mine with several spoonfuls of warm milk poured over top, which sounds like a Depression-era childhood nostalgia, but I just like the way it makes the cake kind of soft around the edges.
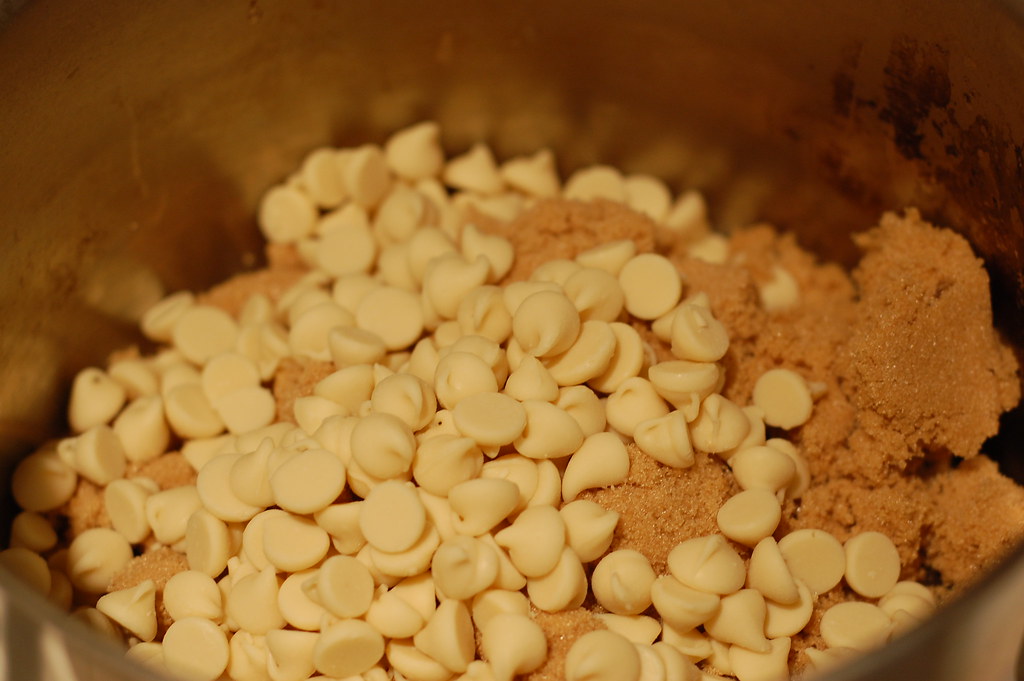
This cake is just the kind I like, and it's made in literally about 10 minutes in one pot. The batter includes brown sugar and melted white chocolate, and don't worry white chocolate haters, you can't detect the white chocolate at all in the finished cake, think of it simply as a sweetener and binder. With cake this good and this easy to make, it makes me wonder why people use cake mixes. The only problem with perfectly plain cake is what to call it, the brown sugar flavor is subtle, the technique is simple, but it does have a nice crackly firm top and a good solid crumb. And sometimes, that's all you want in a cake.
Favorite One Bowl Cake
This is the kind of simple cake that needs only a little bit of ice cream or some poached seasonal fruit for accompaniment, if it needs anything at all. I used a light brown sugar, but for a more pronounced flavor try dark brown or muscovado sugar.
Preheat oven to 350 F. Grease a 9 inch round cake pan.
Place the following ingredients in a saucepan and stir over medium heat until mixture is melted and smooth:
7 tablespoons butter
7 ounces white chocolate, chopped
1 cup brown sugar
3/4 cup hot water
1 tablespoon maple syrup, golden syrup, or honey
1 teaspoon vanilla
Let the mixture cool to luke warm, stirring occasionally. Beat in the following until smooth:
1 cup plain flour
1 cup self-raising flour*
2 eggs
Pour batter into prepared pan. Sprinkle top with an additional 2 tablespoons brown sugar. Bake in center of the oven 45-55 minutes, until top is firm.
*If you don't have self-raising flour, substitute the following: 1 cup all-purpose flour, 1 teaspoon baking powder, 1/4 teaspoon salt, 1/4 teaspoon baking soda.
22 June 2008
Grilled Fish Kebabs
Summer solstice has arrived, and that means one thing for some people: grilling season. People who do not cook all winter long are pulling out the spatulas and tongs, debating charcoal and direct vs indirect heat, and mainly standing manly over large slabs of meat on a primal flame. I have to admit I’ve always been a little intimidating by grilling, my oven has an on/off button and a specific temperature, while the grill has flames that can flash up and die down and where cooking times are based on instinct and experience and not a kitchen timer. However, we’ve got a pretty nice grill and a great backyard and I’ve been slowly trying to teach myself those grilling instincts honed with experience.
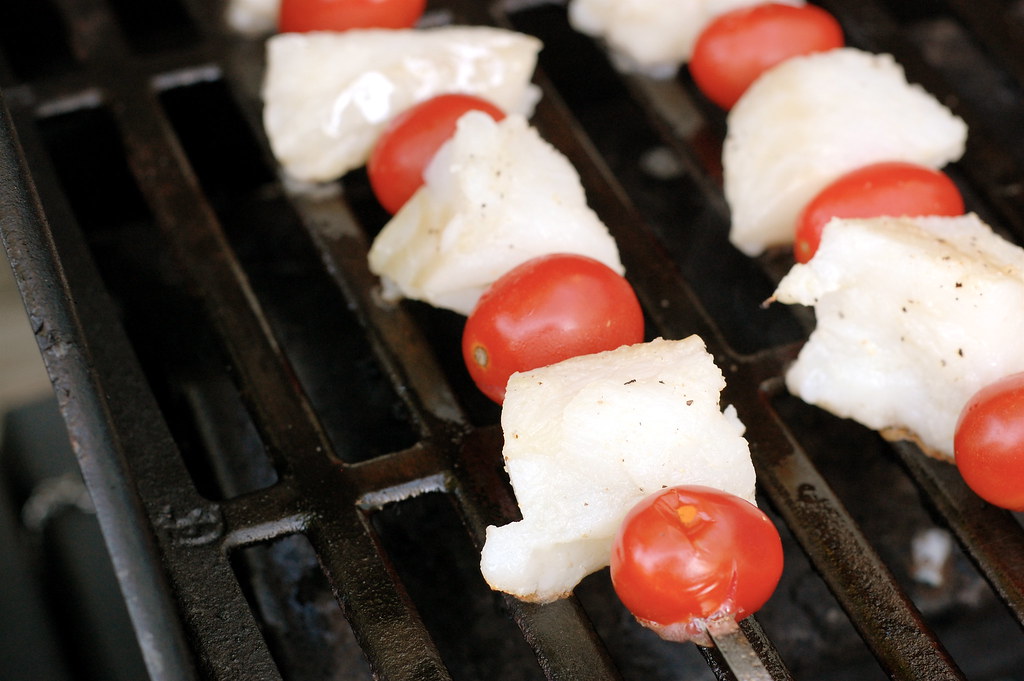
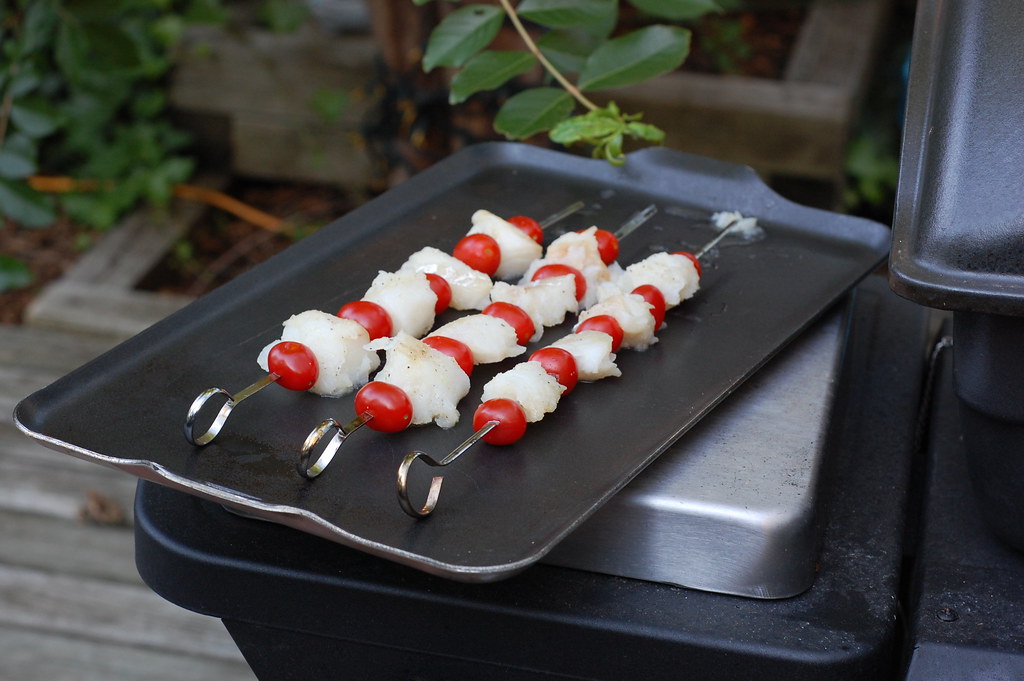
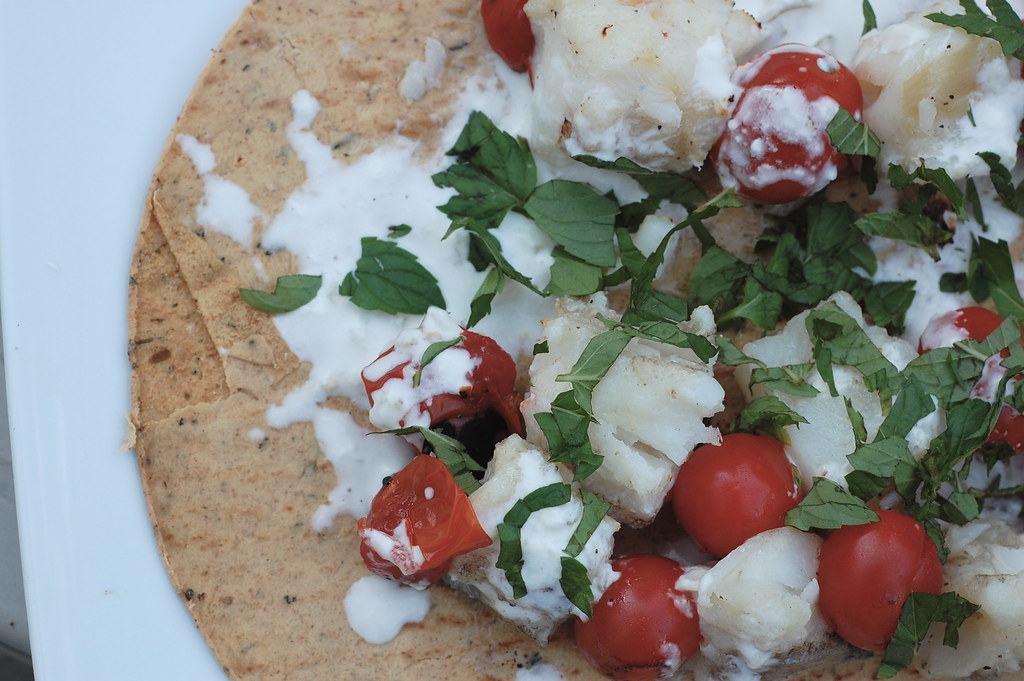
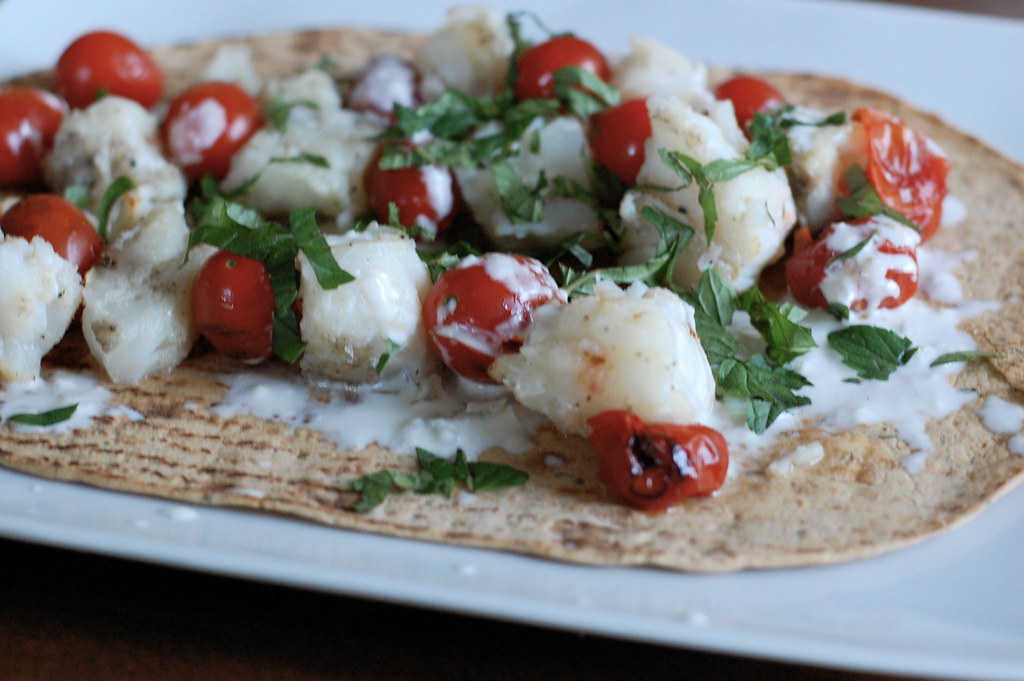
When it comes to fish, I usually prefer to grill a whole fish, mainly because I think it’s one of the best simple meals out there, but also because fish fillets can easily fall apart on the grill. However, if you choose the right firm-fleshed fish, I’ve found grilled fish kebobs make an excellent and very quick dinner. You can always add whatever vegetables you’d like to the kebabs, but I live for those grilled cherry tomatoes, charred on the outside and slightly sweet inside.
But most importantly, as I’ve told you before, is how you serve the kebabs. Don’t just plop those pieces of fish down all alone, place them over flatbreads and give them a good drizzling of sauce and dose of chopped herbs. My kebabs are of the Middle Eastern variety, that is marinated in a bit of lemon and olive oil and served with a classic yogurt sauce. However, you can always experiment with different sauces, a romesco sauce or tarator sauce, or one made with sour cream and herbs.
I'm not sure if I'm a grill fanatic like some out there, but this may just be the summer I catch the grilling bug, so if you have tips, grilling experiences, or any of those instincts I'm looking to hone, please send them this way.
Grilled Fish Kebabs
There are a couple tricks to making good fish kebabs: choose a firm fleshed fish that won't fall apart on the grill, don't try to move them around too much, and don't overcook them. I make a sauce by stirring together plain yogurt seasoned with a little lemon zest, garlic, salt, and a bunch of fresh chopped mint.
1 lb firm fleshed fish such as halibut or mahi-mahi
1/2 cup fresh lemon juice
1 garlic clove, smashed in a mortar and pestle or crushed with a fork
1/4 cup olive oil
salt and pepper
1 pint cherry tomatoes or other vegetables
flatbread or pita bread
yogurt sauce (see header)
a handful of chopped flat leaf parsley
1. Using a very sharp knife, cut fish into kebab sized cubes, try to cut along the grain of the fillet so that the cubes will stay together and not fall or flake apart. Combine lemon juice, smashed garlic, olive oil, salt and pepper. Add fish pieces and let sit 15-20 minutes.
2. Preheat your grill to very hot. Place your flat breads on a platter and set aside. Thread fish cubes and cherry tomatoes onto skewers. Scrub down your grill and spray with a bit of olive oil or non-stick spray (caution, grill will flare). Place kebabs on grill and let cook without moving until the flesh appears opaque and firm. Slide a spatula under the kebabs and turn to cook on the other side, only about 15-30 seconds, until the fish is cooked through but not overly flaky or dry.
3. Remove kebabs to the platter and place over flatbreads and slide out the skewers. Drizzle yogurt sauce over top. Sprinkle chopped parsley over and serve immediately.
15 June 2008
Before
My uncle came to visit a few months ago, just for a quick weekend trip- I was a bit disorganized at the time but we managed to entertain ourselves. As we wandered around D.C. he kindly offered to buy me something, and for the life of me I couldn't think of anything I wanted (and have subsequently thought of about ten things I should have asked for). But as we browsed a housewares shop, a little counter-top deep fryer struck my fancy, and that was what I picked out.
In retrospect, this weekend which would have been remarkably average, I will always remember as the weekend before. The weekend before the diagnosis, before the brain tumor, the last time I saw my uncle before screws were drilled in his skull, before surgery and staples and medications and oh-so-many bumps along the road. They say that memories are not of events, memories are of the stories we tell ourselves about events. The ultimate unremarkability of that weekend will always be colored by what came afterwards, the luxury of doing something as normal as buying a fryer without having to worry about putting on a hat to cover the scars.
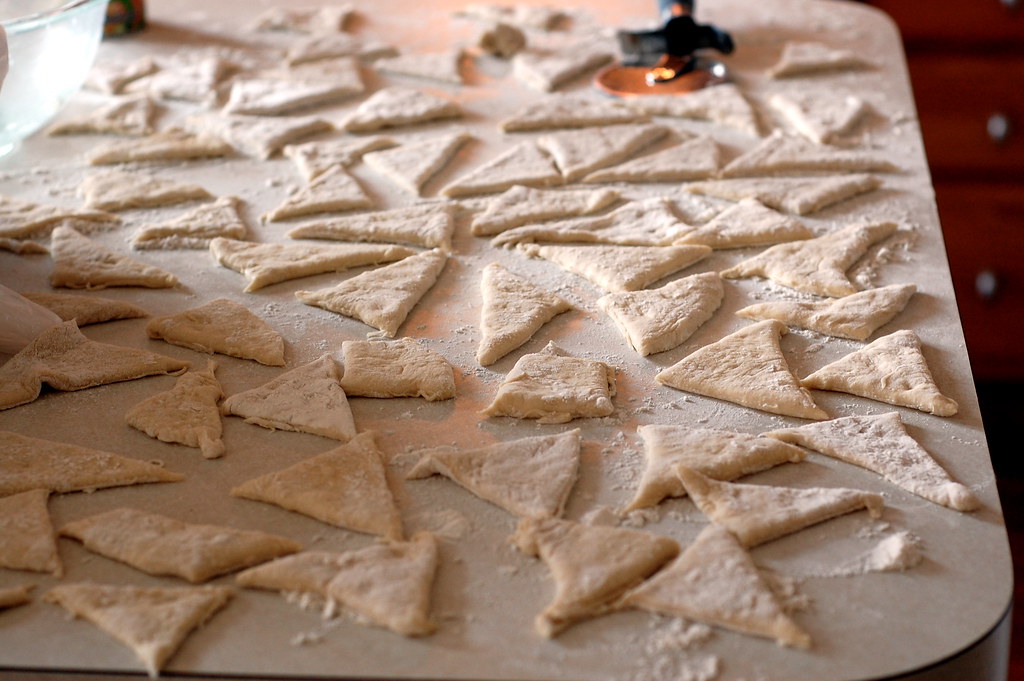
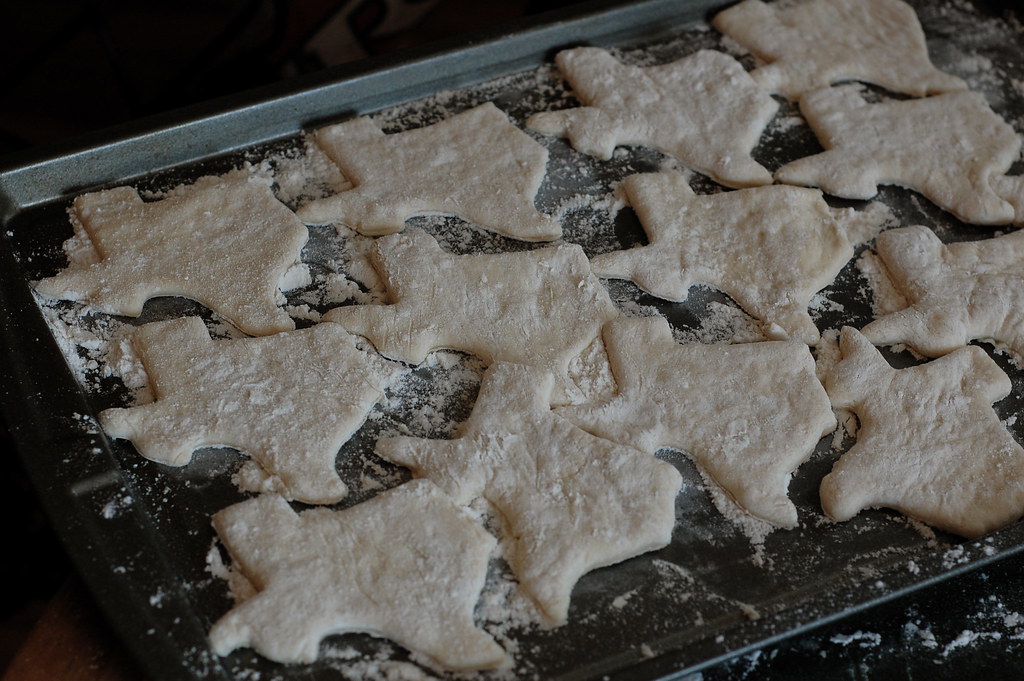
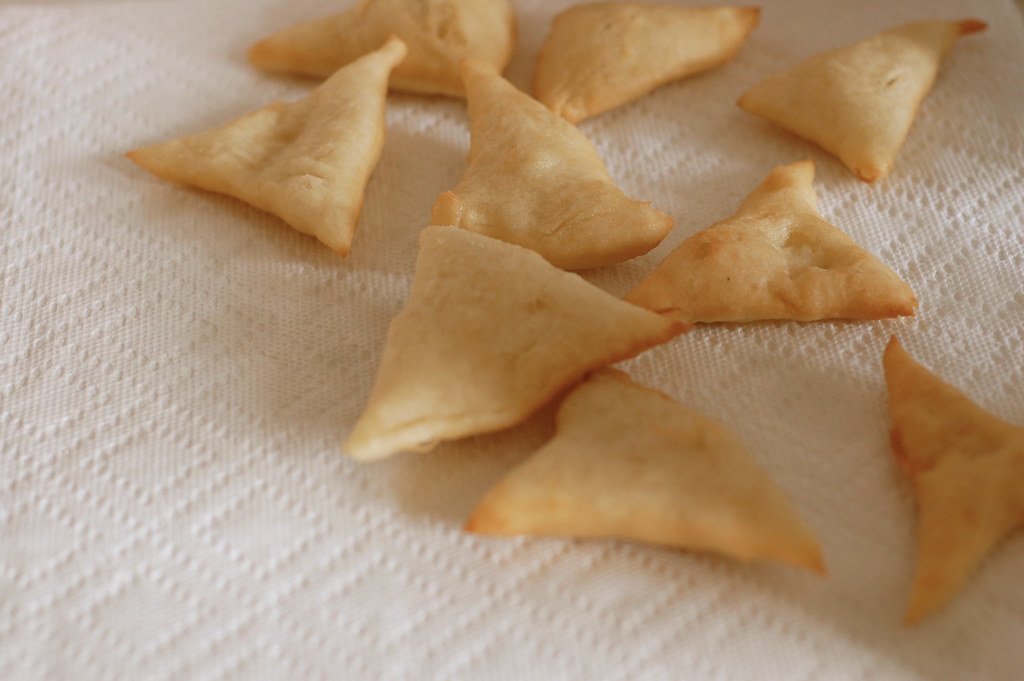
The deep-fryer has sat on the top kitchen shelf neglected for the past two months, still in its cardboard box. At lunch one day, I mentioned my neglected fryer to my friend Johanna, who immediately hatched a plan for sopapillas. As Texan as any Texan I know, Johanna in fact hatched a plan for a whole Texan-themed lunch, complete with excellent enchiladas verde and queso and refried beans. The day before, we had a sopapilla practice session: armed with a trusty recipe from Homesick Texan, we made the simplest yeasted dough, rolled it out and cut it into triangles which were fried, rolled in cinnamon sugar, and drizzled with honey.
At this point, my uncle would probably like to chime in and say he's doing quite well thank you, and no one is more steadfastly positive than he is. But I can also say that sometimes, sometimes you think you're getting along perfectly fine, and then you do something as simple as cook for a bunch of people, and the fierce happiness you get from it makes you realize otherwise. That day, I don't think I ate a single sopapilla, I just rolled the dough and cut it, and watched as they puffed magically in the oil, and watched as people gathered around the counter, drizzling them with honey and eating one after another, and the whole time I couldn't wait to call my uncle and tell him all about it. And when I did, I was already planning what I could fry next...
Sopapillas
1 package active dry yeast
1 1/2 cups warm water
1 tablespoon of butter, melted
1 tablespoon of sugar
4 cups all-purpose flour
1 teaspoon salt
vegetable oil
sugar
cinnamon
honey
1. Mix the yeast with the warm water and let it sit for five minutes. Combine the flour and salt. Add the butter and sugar to the yeast/water mixture and then slowly add to the flour and salt. Knead for two minutes, until dough is smooth and elastic.
2. Rise in a covered, greased bowl for one hour or until dough is doubled in size.
3. After dough has risen, punch it down, and on a floured surface, roll it out into a 1/4-inch thick rectangle.
4. Using a knife or pizza cutter, cut out 3 inch squares, and then cut squares on the diagonal into triangles.
5. Heat up three inches of oil in a big pot to 375 degrees. Fry triangles of dough in the oil for one minute on each side. The dough should puff when it hits the oil. Drain, and then sprinkle with cinnamon and sugar. Serve hot with honey.
11 June 2008
Asparagus, Peas, and Pearl Pasta in Parmesan Broth
I'm sorry spring, I thought we were on such good terms? We were getting along so well, with your sunny 70 degree days, my morning coffee on the back deck as I check on the plants in the cool first light. My strolls to the market for asparagus and peas and strawberries, reading a book in a park in the afternoon sun. What happened? You seem to have disappeared and left a fiery disposition of 105 degree heat and 100% humidity, interspersed with spectacular lightening shows and freak rain storms. I didn't think it would end so soon. After our brief 3-week romance you up and left me for summer.
Despite being jilted by spring, the markets still bear her vestige in the last of the asparagus and pea shoots and morel mushrooms of the season. Summer breathed it's fire breath, sweat trickled down my back and the creases of my knees every time I ventured outside, the market lady with her baskets of tatsoi, mizuna, kale, and mache packed up at 11 am, when even constant sprinkles of ice water couldn't keep anything from wilting.
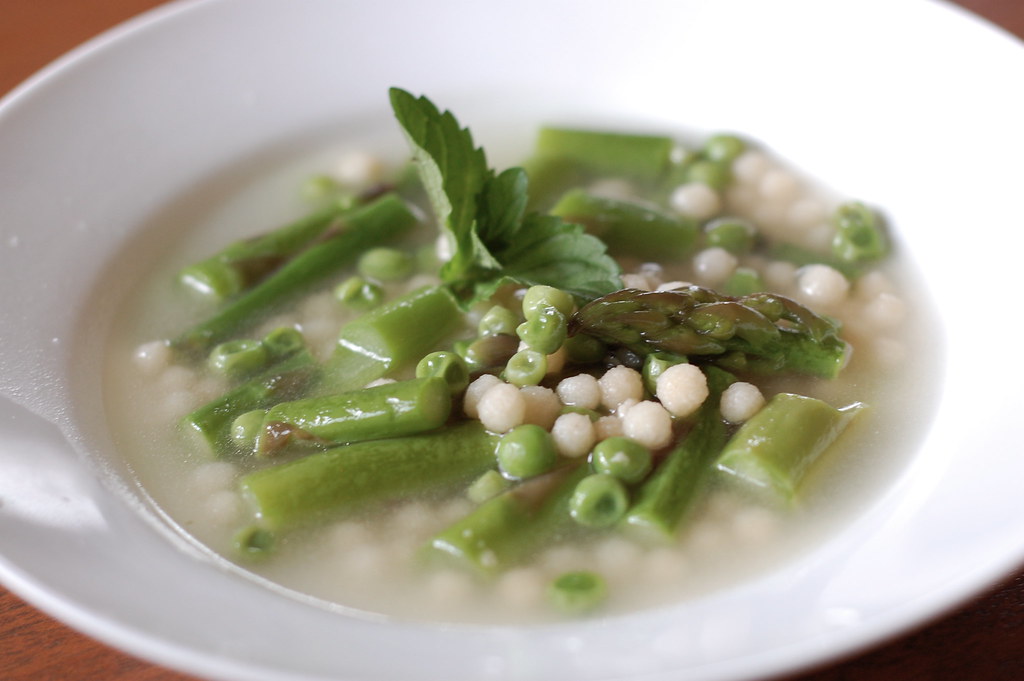
However, the dinner I cobbled together out of items in my pantry, on an evening when it was bearable enough to contemplate eating something besides sliced melon or ice cream, managed to be rather inspired. I've adopted the Italian tradition of tossing rinds from old pieces of parmesan into my freezer and later using them to make parmesan broth. Made simply by simmering parmesan rinds in stock (homemade is best but storebought is fine), this is one of those kitchen tricks to have in your arsenal, because everything tastes better in parmesan broth. In this case, a quick blanch of asparagus and peas and some pearl pasta I found in my cabinet. I could pick out some cliched expression about refreshing spring food or how this was more than the sum of its parts, but I think you get my drift- it was easy, fast, and delicious. Spring may have left but she still tastes good.
Asparagus, Peas, and Pearl Pasta in Parmesan Broth
I had wanted to include some pancetta in this recipe but didn't have any on hand when I made it. If you do, saute the pancetta in a pot, then add the stock and proceed with the recipe as directed.
2 big hunks parmesan rind, with about an inch of cheese still attached
6 cups good quality vegetable or chicken broth
1 cup acini de pepe, Israeli couscous, or moghrabiyya
1 cup fresh or frozen peas
a handful of asparagus, trimmed and cut into 1 inch pieces
half a lemon
a few sprigs mint
salt and pepper to taste
1. Place the stock in a pot and bring to a simmer. Add the parmesan rinds and add the pasta. Simmer the mixture until the pasta is al dente (follow directions on the pasta package for time). Add peas and asparagus and cook 2-3 more minutes, until just tender. Add a squeeze of lemon juice to the broth. Taste for seasoning. Remove parmesan rinds and discard. There may be a few stringy cheese bits in the broth, that's ok. Ladle into bowls, garnish with mint, serve immediately.
08 June 2008
RULES
- Shop at farmers markets. Know who grows your food, where, and how.
- Taste everything, if only one bite.
- Waste not. Almost everything has a use. Good cooks are also frugal.
- Eat more fresh fruit.
- Try growing your own food, even if it's only a pot of herbs, or a whole vegetable plot.
- Salad dressing should always be homemade.
- Buy food products with recognizable ingredients- asparatame is not a recognizable ingredient.
- Spend more time cooking.
- Own a good knife.
- Salt your pasta water liberally.
- Know how to utilize your freezer.
- Never buy frozen chicken cutlets.
- Buy ingredients you've never heard of and figure out what to do with them.
- Know how to deglaze a pan.
- Always buy plain yogurt (if you want fruit in it, add fruit at home).
- Roast and eat a whole fish.
- Learn from what you cook.
These are a few of my approach-to-cooking rules I brainstormed recently. What are yours?
03 June 2008
The Cookie Cubicle
Just for the record, I am that person- you know, the one in your office who's always bringing in the baked goods. Yep, that's me, though in my defense I never force my wares on anyone, I simply place them on the office communal table or in the breakroom, and by the end of the day the tin always seems to be empty. I love that my office environment allows me to bake with abandon, in the past all those cookies would have sat around the house and ended up on my waistline. Now, I have friends who come to visit me regularly in pursuit of baked goods and idle chat.
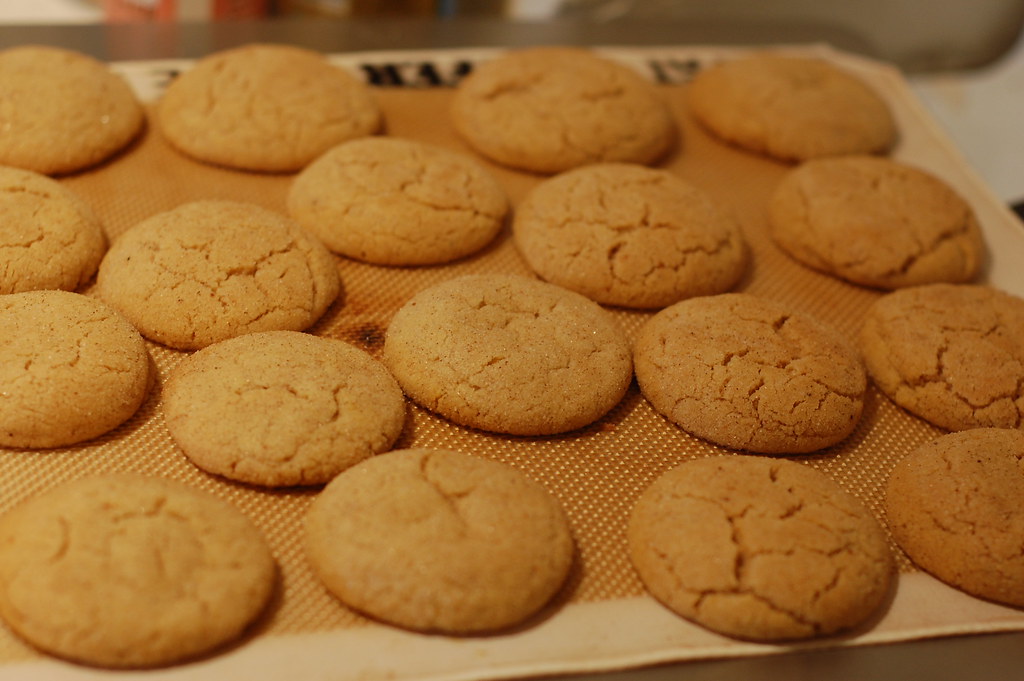
I am occasionally frustrated by the limited options of the transportable baked offering, after all, flans and complicated cakes aren't suitable for commuting or serving at work. However, I can go wild with cookies, cupcakes, cheese straws, and all things petite and hand-held. Recently, these spice crackles went over particularly well, if the tin of crumbs I came home with are any evidence. It's a recipe I came up with by adapting a back-of-the-box sugar cookie recipe with a few slight adjustments and a roll in warm cinnamon and cardamom spices. Whoever you bake for, I hope they enjoy them just as much.
Spice Crackles
These spiced cookies are a perfect balance of crunchy edges and soft chewy insides. Be careful though, it's easy to overbake them, in which case you'll have a still-tasty but crunchier cookie. Makes about 3 dozen, though recipe is easily halved.
2 cups sugar
2 teaspoons cinnamon
1 teaspoon ground ginger
1 teaspoon cardamom
1/4 teaspoon allspice
1/4 teaspoon nutmeg
1 cup butter-flavored shortening, or butter, at room temperature
2 large eggs
1 teaspoon vanilla extract
2 3/4 cups all purpose flour
1/4 teaspoon salt
1 teaspoon baking soda
1. Preheat the oven to 350F. Line 2 baking sheets with parchment paper.
2. In a large bowl, combine sugar and spices; remove 1/2 cup of this mixture to a plate or bowl and set aside. Add shortening/butter to bowl and cream with the 1 1/2 cups sugar mixture until fluffy. Beat in eggs, one at a time until fully incorporated, and add vanilla extract.
3. In a medium bowl, whisk together flour, salt, and baking soda. Add flour mixture to butter mixture and stir until fully incorporated.
4. Shape dough into 1 inch balls and roll in reserved sugar-spice mixture. Place on baking sheets, about 2 inches apart.
5. Bake for about 12 minutes, until edges are firm to the touch, but not quite browned (err towards 10 minutes for soft chewy cookies and 14 minutes for crunchy cookies). Cool for a couple minutes on the baking sheet, then transfer cookies to a wire rack to cool completely. Store in a tin.
01 June 2008
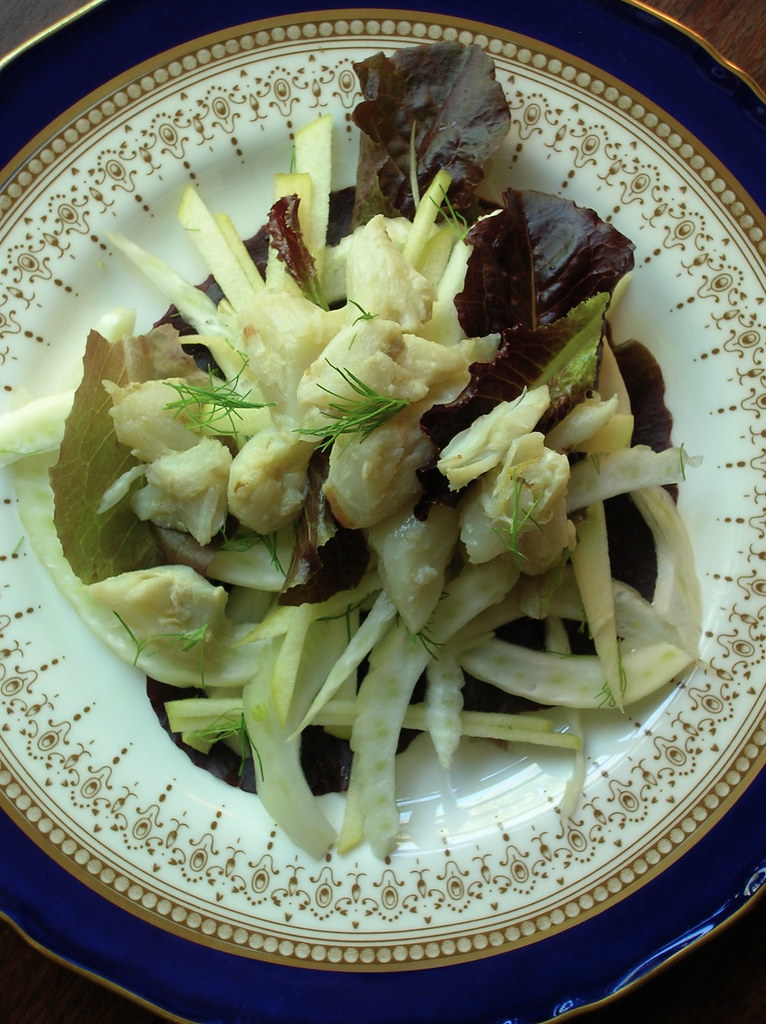
Crab, Fennel, and Apple Salad
When is a recipe for salad really necessary? I mean, you could probably read the title of this post and generally figure out how to go about making this without instructions. Salad is one of my absolute favorite foods, hands down, and as such, I have pretty strong feelings about how salad should be made. Often, I just throw one together with what's on hand, maybe substituting one ingredient for another, lazily chopping or slicing, using some of whichever vinaigrette is in my fridge.
However, good salads, the one's you come back to again and again, work because their components achieve just the right balance. Each ingredient plays off another: the crunchy, soft, salty and sweet. The way ingredients are handled makes a big difference: cutting something in small dice will have a very different effect than in thin slivers. So while amounts for salads maybe done by eye, good salad recipes document those combinations that really work.
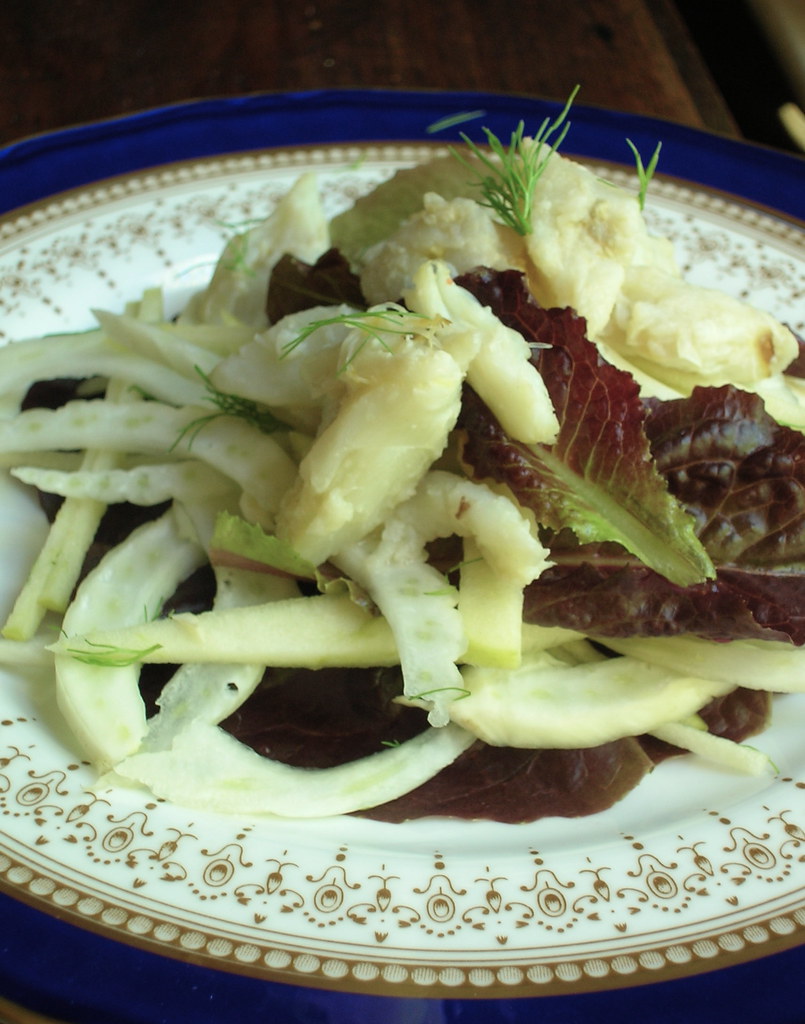
Here's a salad I'm fond of for a special occasion, sliced and served just so. Thin slivers of apple and fennel play tart, bright counterparts against the sweetness of lump crab and baby lettuces. I have these wonderful tiny red lettuces growing in a pot in the backyard, but another mild baby lettuce would work nicely. As long as you promise to follow the recipe.
Crab, Fennel, and Apple Salad
1 cup jumbo lump crab meat
1/2 a fennel bulb, cored and thinly sliced, with a few fronds reserved for garnish
1/2 a Granny Smith apple, cored and cut into matchsticks
baby lettuces, about 4 cups
3 tablespoons olive oil, 2 tablespoons white wine vinegar, pinch sugar, pinch salt
1. Whisk together dressing ingredients in the bottom of a large bowl. Add the lettuces and toss with your hands to coat. Add the apple and fennel and toss to coat. Arrange lettuces and vegetables on serving plates (reserve the bowl). Add crab to bowl and toss around with whatever remaining salad dressing is in the bowl. Mound crab over salad. Garnish with fennel fronds.