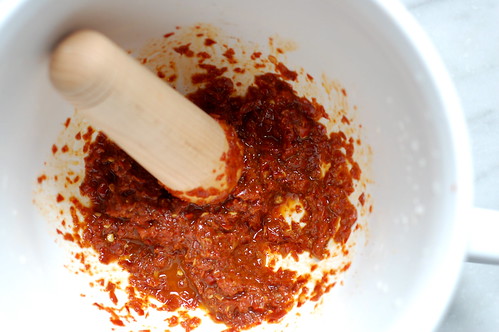
Harissa is all over the place in America these days, everywhere we turn there's the North African chili paste on menus and condiment lists and every cooking magazine you open. I find this extremely frustrating. After spending two years in Algiers, while I may not have learned much, I definitely learned about harissa. I learned that there is bad harissa and good harissa, and the reason the harissa craze in America is so frustrating is that most of the harissa in America is over-priced and mediocre.
I suppose I should be happy that people are actually learning about what harissa is in the first place, but it wouldn't be me if I didn't have higher standards than that. However, there is an easy cure to this problem, the problem of the $8 a jar sub-par harissa, and that is to make your own harissa! It is surprisingly easy and doesn't even necessitate a trip to a special grocery store.
Now, a bit of background, harissa is made in North Africa, primarily Tunisia, Algeria, and Morocco. Most connoisseurs will tell you that the Tunisians make the best harissa, Algerians the spiciest, and the Moroccan version is often simpler and milder. The primary principle of harissa is that it is an oil-based chile paste, basically all you need is oil + chiles for the most basic version. There are about as many recipes for harissa as there are cooks in North Africa or salsas in Mexico, there is even a famous version of harissa from southern Tunisia that involves rose petals. However, most harissas are based on a simple equation of chiles (fresh or dried), a few spices, salt, and oil. For a basic harissa, there's no need to add red bell peppers, fresh herbs, tomatoes or any other detractors.
My harissa recipe is based on my efforts to recreate the harissa from my favorite vendor in Algiers' Premier Mai market. While I can no longer buy a big bag of harissa from him, it's surprisingly easy to recreate at home, and we use it to top just about everything (eggs, pizza, grain salads, tagines, harissa-roasted potatoes).
Harissa
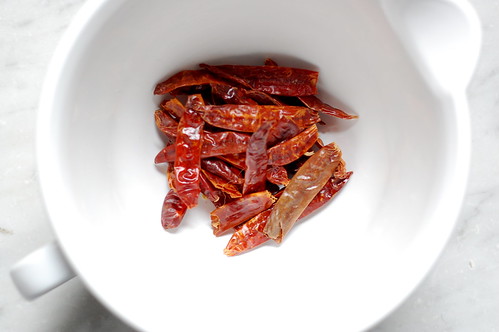
For the chile peppers you want thin red chile peppers about 3-5 inches in length, the best substitute I have found are chile de arbol and chile japones, available in most groceries. Generally, they should be very very spicy chiles. I strongly recommend wearing gloves when preparing the harissa, my hands burned for two days after making this, and the chiles were so strong I also sneezed a lot while handling the peppers. If it's not strong, than it's not really harissa. Despite all this, our harissa mellowed after two days of sitting, and was pleasantly strong but definitely not mouth-burning.
200 grams (7 ounces) dried red chile peppers, see headnote
3 cloves of garlic
1 teaspoon ground caraway (freshly toasted and ground is best, but it's not the end of the world if you use pre-ground)
1/2 teaspoon ground coriander seed
2 teaspoons salt, kosher salt or sea salt is best
1/2 cup olive oil, plus more for covering
1. Snip the ends of the peppers and shake out any seeds. Try to get all the seeds out of the peppers and then discard them, otherwise your harissa paste will be unbearably hot.
2. Heat a wide skillet to medium heat and add the dried peppers, allowing them to just warm up in the dry skillet, stirring them to distribute the heat. Do not allow the peppers to toast or brown!
3. Place the peppers in a bowl and cover with warm, but not boiling, water. Let the peppers soak for 20-30 minutes, pressing them down after the first five minutes to make sure they submerge in the liquid.
4. After the peppers have softened (they should be pretty soft but don't worry if there are still some firmer bits to the peppers), drain them, and then working in the sink, peel open the peppers to discard any remaining seeds. I run the peppers under running water to remove any remaining seeds. If you sneeze during this point, just remember to rinse off the affected pepper.
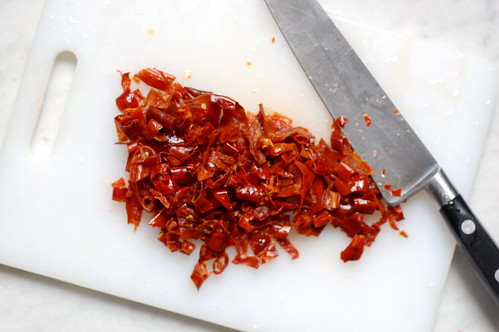
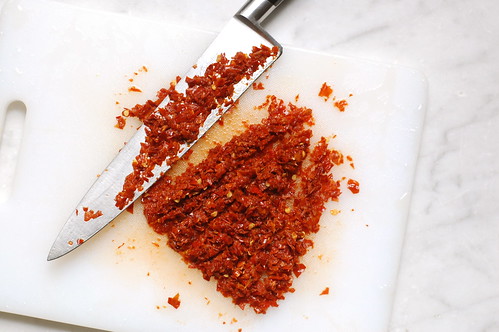
5. Transfer the peppers to a cutting board (preferably plastic, as wood will stain). With a knife, very finely chop the peppers, and continue going back over the peppers with your knife until you start getting an almost paste like mixture.
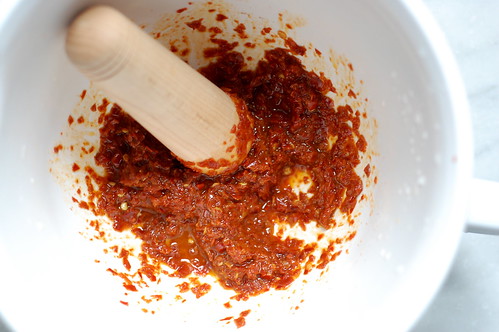
6. Scrape the peppers into a bowl. Press the garlic through a garlic press and add to the bowl. Add the caraway, coriander, and salt. Using the pestle from a mortar and pestle (or any large round thing you can use for smashing), smash the whole mixture together. Add half the olive oil and continue smashing with the pestle so that the oil starts to emulsify in the peppers. Add the remaining oil and continue smashing until you have a nice paste. Taste for seasoning.
7. Transfer the harissa to multiple small jars. Cover each jar with a little olive oil to cover. Harissa will keep about 1 month in the fridge, but be aware that it definitely will go bad. I like to keep small jars of harissa in the freezer, and just pull one out at a time when I need it.


4 comments:
I adopted a slightly modified approach to the preparation. Used one bag Chile de Arbol and one Chile Japones and cut each chili lengthwise with kitchen shears, then put them all in a large jar and shook vigorously. It got rid of the vast majority of the seeds and the few left gave the Harissa a good level of heat, but it may be too hot for some. I also skipped the knife work and put the mixture into a food processor for probably over five minutes of processing. It came out slightly on the junky side, but the emulsification made the Harissa very creamy. Last, I also added half a teaspoon of cumin to the spice mix. It turned out great, hot and full of flavor.
Thanks so much for the feedback! Since our food processor is currently en route (somewhere in a shipping container) I haven't yet tried harissa in the processor, which is why I didn't recommend it, but I'm glad it turned out well! I'll definitely try that when we get our shipment and maybe update the recipe.
Thank you so much for sharing this recipe. It has become a staple in our house.. we have used it in grilled cheese, on avocados, stirred into yogurt..the list goes on. I have made it both ways -with the mortar and pestle and with the food processor. I like the mortar and pestle better because it is wonderful aromatherapy as well.
tibik -- best comment ever! thank you!!
Post a Comment